Let's crafty!

Let's crafty!
Showing posts with label whale. Show all posts

Thursday, March 17, 2016

Work in Progress: PYOP Ornaments

Yesterday Brie and I went to The Pottery Stop to work on pottery for the first time in months. I'd been thinking about doing some smaller pieces...something manageable where I can work on several at one time while I wait for parts of them to dry.

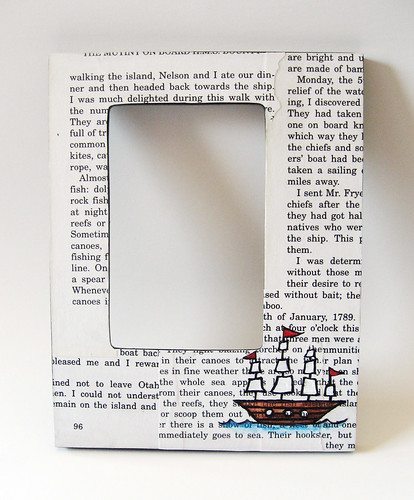
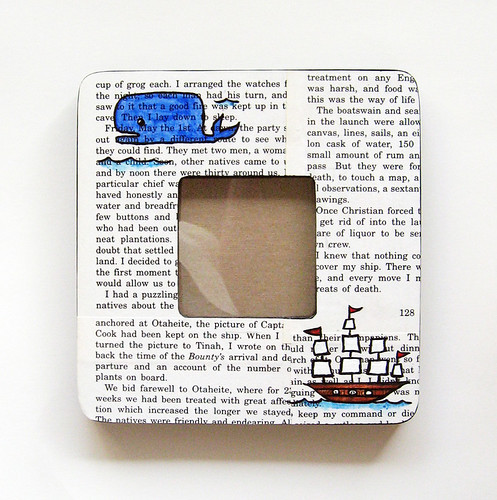
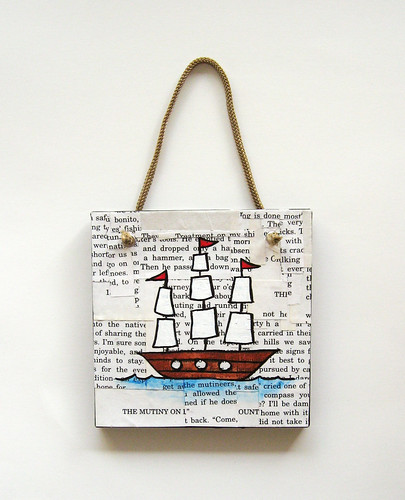
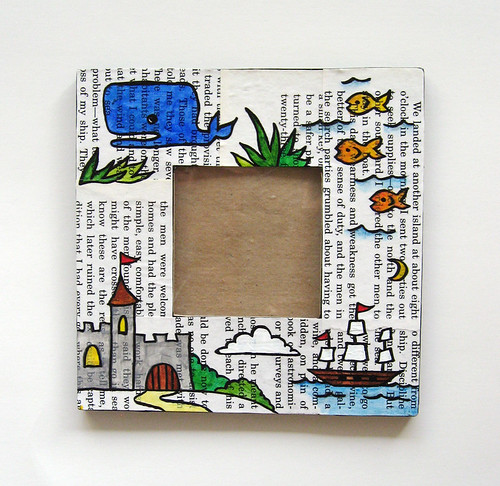
I'm using my usual wax resist technique on these ornaments but I thought I'd try something a little different and not just use a black background (which will turn into the outlines of the drawings on my piece). So on some of these I am experimenting with dark brown and gray backgrounds, for a softer outline.

paint your own pottery ornaments in progress

So on the top right is an image that may look familiar...I've used Whaley on a few items before but I love him so I painted him again. The bird in the tree also may look familiar...

The two bottom images are Tuscan scenes I've been thinking about painting for a while. Just reminiscing about Italy a bit...

The fifth ornament, on the top left, is still blank...wasn't sure what I wanted to paint there yet. Brie (always helpful) suggested Sean Connery in a red diaper a la Zardoz (if you haven't seen that movie, it is totally bizarre, but worth checking out for his outfit alone!)

I was thinking more along the lines of an elephant with a pretty blanket on its back, or perhaps a pirate ship, or a little city scene. If I'm gonna do Zardoz I'll definitely have to do some practice sketches first and not just freehand it.

paint your own potterry coasters in progress

More pictures to come when these are done...and they will be for sale in my etsy shop!


Sunday, September 8, 2013

PYOP (Paint Your Own Pottery) Coasters (well...half of them)

I finished two of the four PYOP coasters I started...then last week I went back to finish the other two but forgot to bring them with me! So I ended up working on some plates instead. But here are the two finished coasters!


On the backs I decided to put the little bees again with my initials...with a slightly different configuration on each coaster. The little white dots I painted worked out surprisingly well, they nicely camouflage the three little marks from when they put the pieces in the kiln.
 
 
Here are the "before" pictures--after I painted but before the pieces were fired. I used the same wax resist technique I enjoy so much. It's fun to paint the picture, and then color it in like a coloring book :)


As you can see we usually accompany our pottery painting with a fine meal at Qdoba...mmm quesadillas with extra queso...


Here are the other two coasters...a ship and an elephant! Totally random but that's what I felt like painting.
 

 And here are the two plates I started last time...
 

Lots of painting to do! Can't wait to see how these turn out. The whale and/or toucan plates are for my brother...we'll see which one of them he prefers.

Back to The Pottery Stop later this week to finish!

Tuesday, July 9, 2013

PYOP (Paint Your Own Pottery) Part 4

My friend Angie was in town this week and she is also crafty so we spent an afternoon at The Pottery Stop. I finished two pieces that came out pretty darn cute, if I do say so myself! Angie had never tried PYOP before and she had a great time and may be hooked on it too :) And her piece came out amazing!

Angie painted this lovely bowl (as part of a vertical spoon rest) with a Tuscan countryside scene.

 
I just love the koi on the inside of the bowl, what a beautiful touch! Angie has really meticulous attention to detail which paid off here, especially since the bowl is actually quite small (about 4 inches in diameter). It looks awesome.
 
This time I thought to take "before" photos of my pieces...partly to show the difference, and partly to remember what paint colors I used and how they looked before they were fired. I tend to use blues that are too dark and hide the black outlines and don't want to make that mistake on my next one.
 
Here's my three-section tray, with a ladybug, bird, and dragonfly. Before:
 
 
And after:


The ladybug was my favorite section on this one once it was fired. See what I mean about the overly dark blue sky in the other sections?
 
I also decided to paint a cute little design on the back.

 
After I finished this piece, I had some extra time while waiting for Angie to paint her tiny trees, etc. So I started a new tray (wavy sushi plate) with one of my favorite little scenes that I've painted in watercolor and other media before...whaley!

My little whale scene before:
 
 
And after being fired:
 
 
I love how bright all the colors turned out! And I did a little bit of a dotted texture detail in the coral, which came out better than expected. I added a silly little chicken legs box signature design on the back for fun:
 
 
We really had a great, relaxing day painting our pottery! What a nice way to spend the day with a friend :) And then picking up our pottery pieces was like a surprise present all over again, to see how they turned out!

Tuesday, April 26, 2011

Hobo craft fair this weekend! Plus projects in the works...

A quick side note: today is the 226th birthday of John James Audubon...please check out the Audubon Society and what you can do to help birds in your area!

Over the past few weeks, I've been working on a bunch of new items for the upcoming 4th annual Riverdale Park Arts Fest--yup, that's right, this is the craft fair Brie and I refer to as "Hobo Craft Fair" (due to the rain, cold, and our other assorted hoboness from the last time we did it).


It's going to be this Sunday, May 1 from 11am to 6pm and there's food and live music too--and hopefully no rain! Last year I was sick and couldn't make it so I'm excited about attending this Sunday.

The main projects I have in the works right now are my felt flower and leaf cuffs, and more decoupage wall art.

Three of the cuffs here were ones I finished while in New Mexico...the other three are still in progress.

And I have a bunch of the decoupage wall pieces ready to be painted. I draw in the pictures with my favorite Faber-Castell Pitt brush pen...and then they will be colored in, and sealed with another coat of decoupage finish.


On this last piece, I am still deciding what to do with the middle square. My original intention was to draw an anchor in that box, if I can manage to make it look normal. If this was going to be a personalized piece, I'd paint a big colorful letter for the person's first name in that box.

Thursday, April 21, 2011

New decoupage frames: whales, ships, fishies, castles, and a mutiny

Kate's birthday was this weekend and I wanted to make her something original and cool, so I decoupaged a picture frame with pages from an abridged illustrated version of The Mutiny On Board HMS Bounty. Then I painted a cute little ship in the corner with acrylic paints. Turned out just as I imagined it!

Decoupage ship frame 2

I loved the ship frame so much that I made some other versions.

Whale and ship decoupage frame

Here's one on a wall hanging piece instead of a frame--love how it looks with the rope!

Decoupage ship wall hanging


And here's one with a whole bunch of stuff painted on it. Yes, I know the text is sideways. It was an accident but I like it!

Decoupage ship, fishies, whale, and castle frame
Related Posts Plugin for WordPress, Blogger...